So this week I was able to work on my own car for my blog as opposed to working on someone else car. I was extremely excited.... at first! Last weekend I found out that the shock absorbers in my car were finally going bad. After 150,000 miles its about time that they have finally wore out. It was now time for me to do something I have been waiting to do to my car for a very very long time: it was time to get low! In the aftermarket car seen the first thing anyone does to their car is to get it low. This involves removing the stock suspension set up and replacing them with either a coil over suspension or a hydraulic air ride suspension system.
There is much debate about whether or not it is better to go with and air ride suspension or "bags" for short or to stick to an upgraded coil over suspension. Usually this choice of what is better is left up to customer/ owner and also their desired use of the car. Normally there is a group of people who like to use their sport designed or inspired vehicles to do just that; be sporty and driven hard. This type of people consistently stick to the coil over suspension package, due to its upgraded from stock design and ability to change the height of the vehicle. The other group of people are in it all for the show. To have the lowest riding car at a car show is like talking to the hottest girl at the party: your the man and everyone knows it! The hotly contested debate over the two is that the performance of bags doesn't hold a candle to that of a coil over kit. Research has shown that there is virtually now performance difference between coil overs and bags. However I am on the coil over side of the debate, and also bags are more expensive, so, I decided to go with the Br coilover kit from BC Racing. The company is based out of Orlando and has an amazing track record with PSI's personal and customer cars due to great price, reliability, performance, and build quality. With my car at the dealership having some electrical work done to it I decided to order my kit and set to work on it when the car got back.
Having installed 10-15 coil over kits on a various number of cars I figured that my car, 2002 BMW E39 M5 would be no different. Simple and straight forward, or so I though. It would be easy they said... they lied. Installing my kit took every ounce of patience, knowledge, and time that I had. In total it took me roughly 6 hours over 2 days to put it in where on most cars it usually takes only about 3 hours. The e39 is not to be taken lightly though. Being the macho man that I am I decided I wouldn't need any instructions, or help, or DIY videos. It took me about an hour to realize I was very very wrong.
I first had to remove the rear seats and their screws which totaled about 10. I then had to go about removing the c pillar covers and light which was 2 bolts on each side. After taking out the c pillars and much pulling at the back decklid I realized that were were 3 nuts in the trunk that fastened the deck to the frame of the car. I have come to find out that the Germans' are extremely smart but also over engineer things so much that its frustrating. I removed the 3 screws in the trunk and then started pulling and yanking until the deckled finally came out and I was able to rest it against the back seat. This took around an hour and a half to figure everything out.
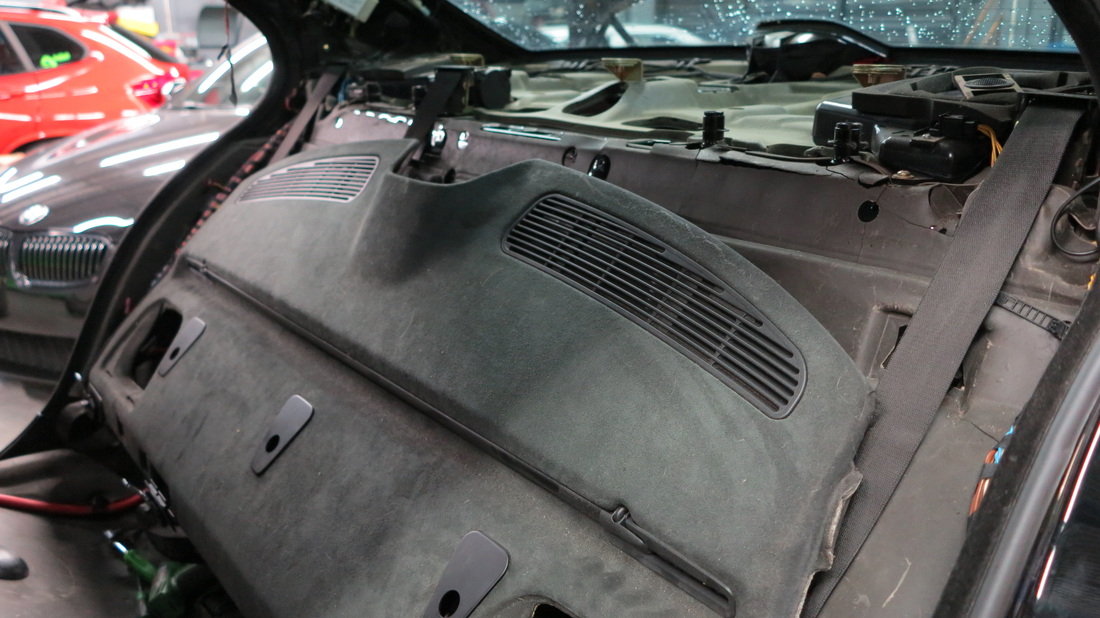
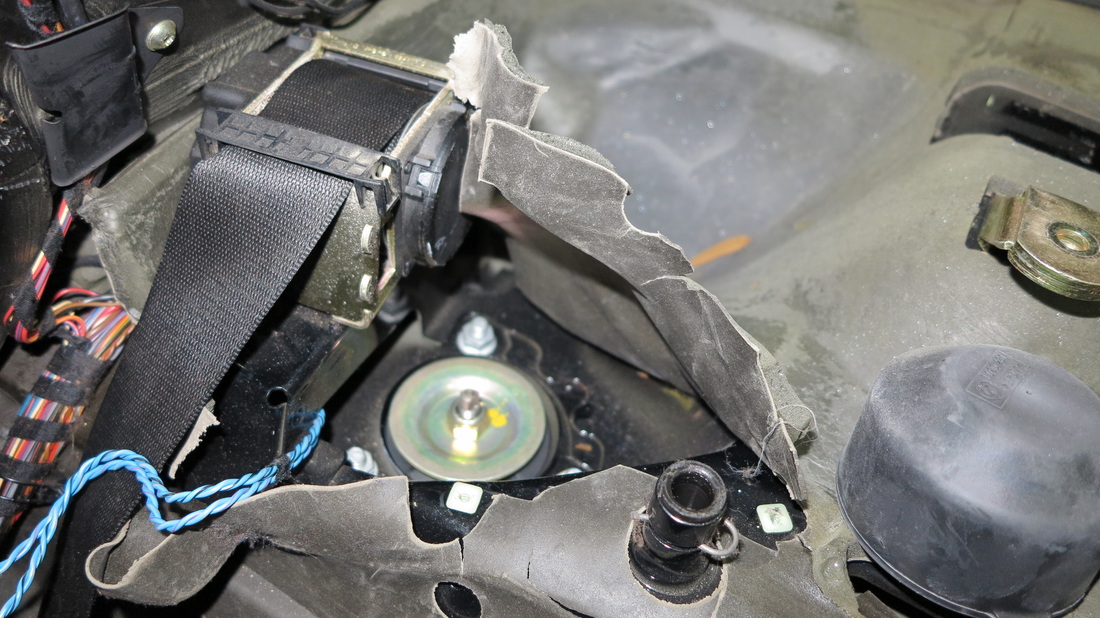
To get to the top of the strut tower I had to still remove 2 more layers of bmw engineering to get to where I needed to bed. I unscrewed and disconnected the speakers and then had to rip through the sound deadening foam to reveal the strut tower and 3 nuts that hold the coilovers into place.
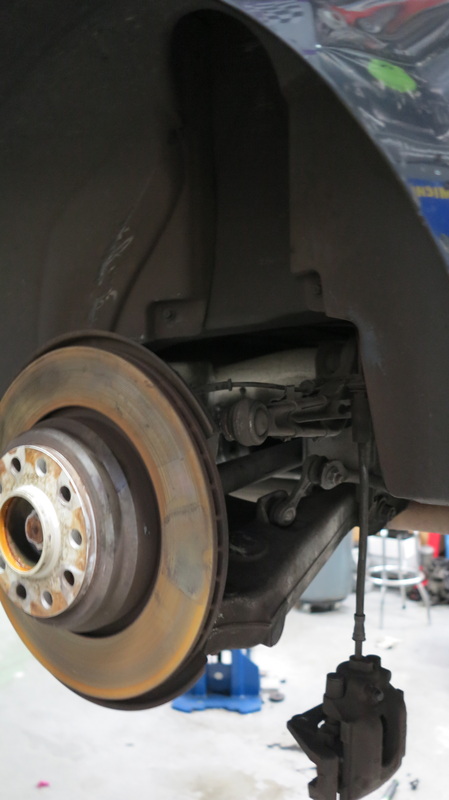
After loosening the nuts at the top of the coilover I went underneath the car to remove the bolt that holds the bottom of the coilover to the hub assembly. This was not hard to do but once I tried to start pulling the coilover out of the car the it wasn't budging. I had to also unbolt the rear control arm, the sway bar, the brake caliper, and the end links just to get the stock suspension to even move. I then needed help from 2 other guys to help me push and prod the shock out from the wheel well. This took at least an hour to do just one side. At this point I realized it was going to be a long night!
After 2 hours of work I finally got both stock rear shocks out of the car.
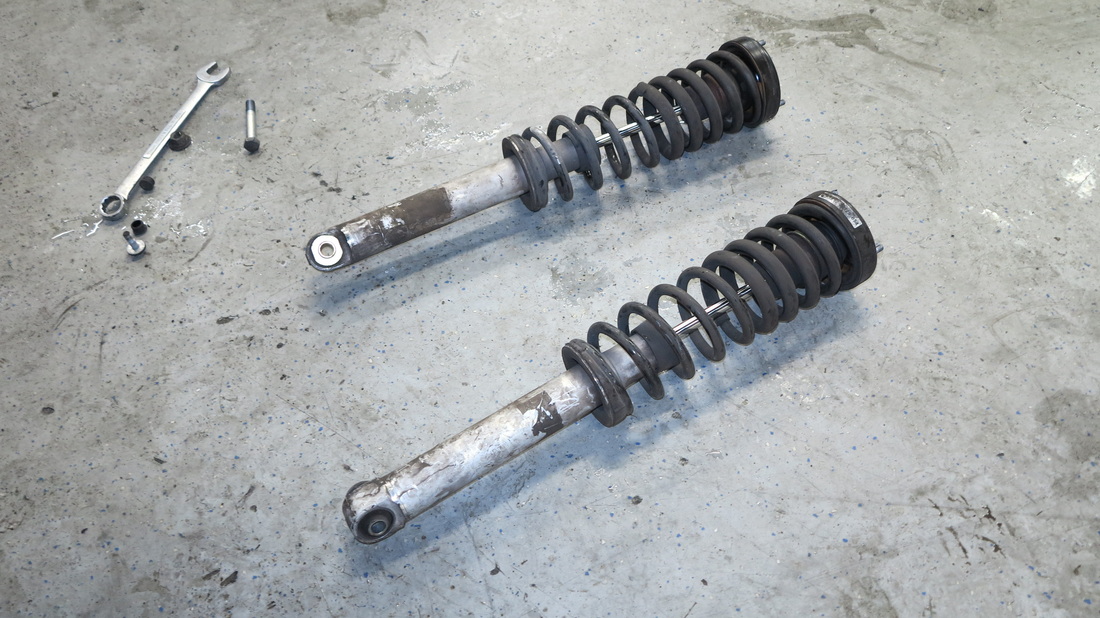
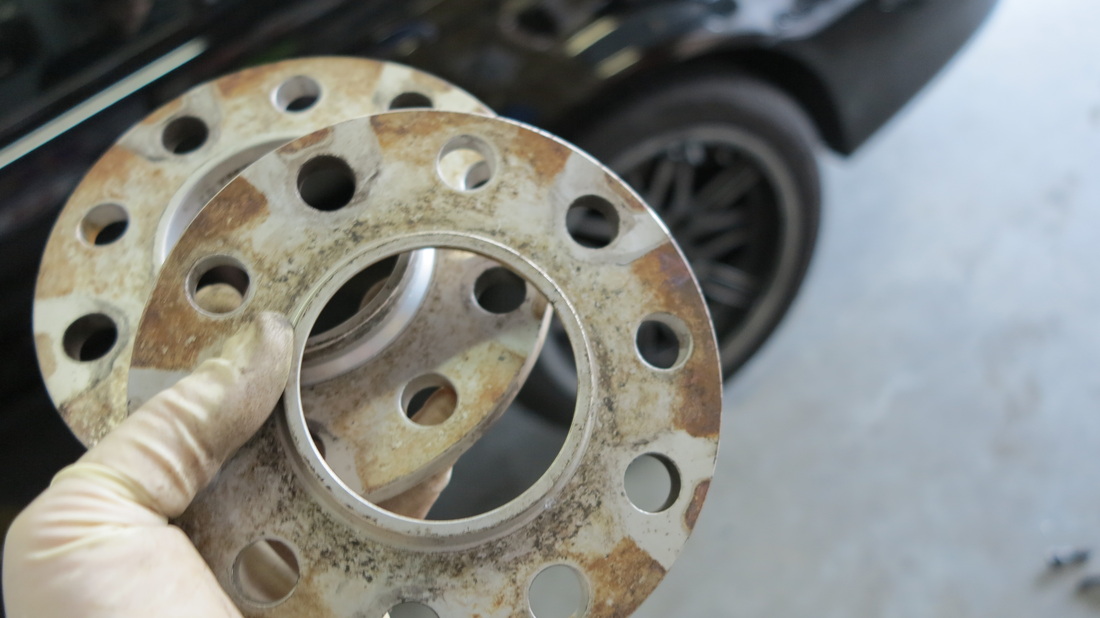
This was the brand new set of BR type BC Racing Coilovers including some comparison pictures of stock to replacement. Don't they look purdy!!
Installing the new kit is much easier to do then taking out the old ones. This can be seen in the comparison pictures since the BC's are roughly 4-6 inches shorter then the stock setup. I reinstalled the coilover to the hub assembly, aligned and tightened the 3 holding nuts at the top of the strut tower, and then went to work tightening and reinstalling the rest of the rear end suspension components. At this point it was 12 at night and I had been working for a solid 4 hours just to install the rear coilovers. I called it a night and decided to finish in the morning. I knew if I stayed up late it would only continue to frustrate me and I would probably over look something.
I started fresh in the morning and immeadatly got to working on the front drivers side of the car. The front end proved to be much easier to remove then the rear however I went through mostly the same procedure: loosen top nuts holing strut to strut tower, unbolt bottom of strut from the hub assembly, remove end links, loosen sway bar and remove coil over.
I started fresh in the morning and immeadatly got to working on the front drivers side of the car. The front end proved to be much easier to remove then the rear however I went through mostly the same procedure: loosen top nuts holing strut to strut tower, unbolt bottom of strut from the hub assembly, remove end links, loosen sway bar and remove coil over.
Again going in was much easier and they just bolted right in. However I have been getting some shaking in my steering wheel so after analyzing my tires I found out that my drivers side tire was cupping. This means that the backing of the tire underneath the tread is getting old and brittle and will break up. When this happens the tire forms a bulge in the tread making the tire bounce in the steering wheel. I was lucky enough to have some old gently used tires sitting around the shop and was able to instal those on my front wheels.
Now that everything was on the car it was time to put the wheels back on and take the car off of the lift to see how it looks. I removed the spacers on the rear of the car to make sure that I wouldn't rub the fender lining incase it was to low.
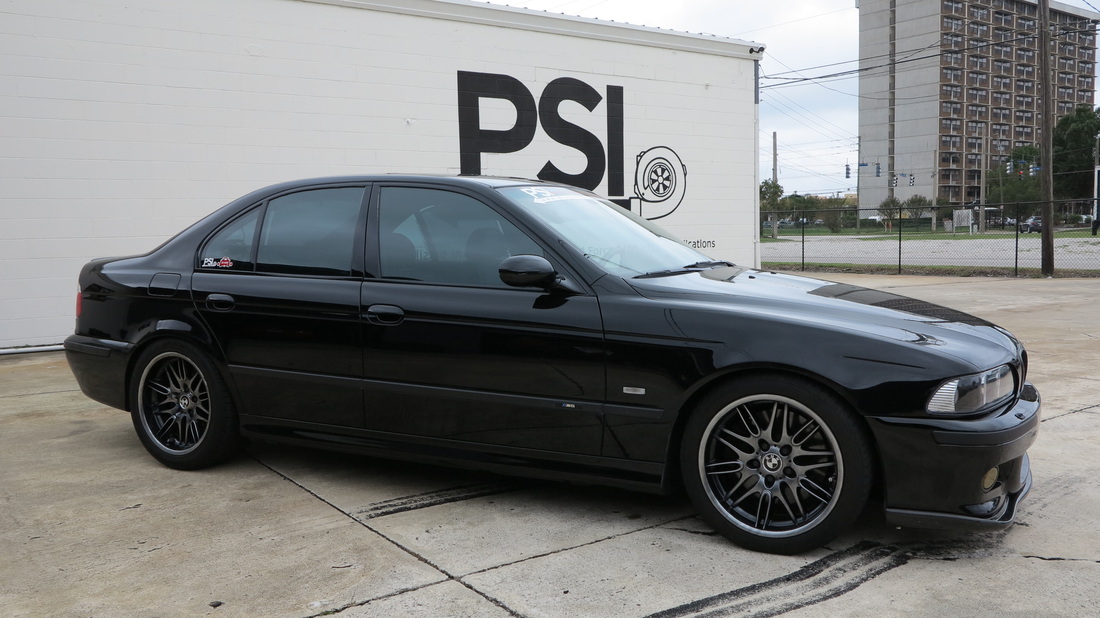
After 6 hours of work I finally installed the entire kit! I then had to go on adjusting some of the dampening settings for how hard or soft I want the car to ride and also ride height. I have had them on the car for over a week now and the dampening settings are right but I'm still working on lowering the car to the perfect ride height.
 RSS Feed